Mini Micro, that will take
Artist Trading Cards


This can be made with any size card.
I will use A5 card.
I scores 10cm and 20cm
The 1cm at the end becomes my to glue it together.

I scored at 6cm,
so this will give me a 6cm and 9cm pocket.
Cut the scored line
on the opposite side to you tab.

fold the 1cm tab over ,
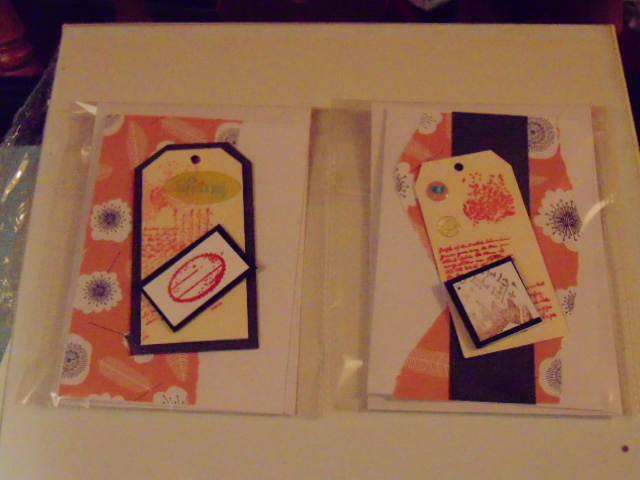
and fold your pocket in half as in the photo.

Add glue along the tab,
and along the inside edge where you made your cut.


Fold the flap upwards on both sides,
press to make a good seal.
Leave for 5 mins to set.

Fold together so the cut at the center faces upwards.
This is your pocket ,
I made 6 but how many you make is up to you.
My pockets meaure 10cm wide
one is 6cm and the other is 9cm.
so your matting will be
8.5cm by 9.5cm Large
5.5cmby 9.5cm Small.
You will have 2 pockets to add your tags inside.
They will need to be 9.5cm tall but the width is up to you, I tend too stick a bit of card inside and see if I like how far it sticks out.
You can make a mini out of this,in several ways.
You can make a strip to attach these to a cover by
scoring a long strip.
you will need a 9cm wide strip by about 21cm.
score at 3cm,
4cm 5cm and 5,5cm,
4cm 5cm and 5,5cm,
6.5cm 7.5cm and 8cm,
9cm 10cm and 10.5cm,
11.5cm 12.5cm and 13cm,
14cm 15cm and 15.5cm,
16.5cm 17.5cm and 18cm.
You make fold the 1cm folds together,
these are the glued together on the back,
So you get a 1cm high tab
with a .5cm gap between each one
Do one tab at a time
Add glue to each side of the Tab,
And slide the end of you Pocket that doesn't have the fold onto Tab,
You will have to do this 6 times.
once all your tabs have pocket,
Leave for 10 mins so the glue sets.


To add a cover
Measure the spine of your minibook
Find some hard card,
11cm by 24 cm
I have been using the backs of my pads of Paper.
You need to cut it 1cm bigger than you want the book to be as this means the Mini book pages don't over hand.
Score your card at 10cm and 14cm.
Bend the covers upwards to make your book cover.
Make sure your mini book fits inside.
You now need paper 13cm by 26cm.
Score 1cm around each edge.
Glue your card inside this score line
Cut the corner either as a triangle,
or just fold it down.
Press along the edge of the card
to make a nice edge.
If you just folded it down you can remove some of the extra paper if it's too bulky.
Once you like it add glue and stick the paper to the card, along all four edges.
Place your mini book inside.
If you fold the 3cm tabs flat against the book
Add some glue to the back 3cm tab
on each side of the album,
and across the spin
center this inside your book cover and press gentle on each tab.
Leave to set and then you can decorate.

And this is what happens when you use
1cm in stread of ,5cm for the gap
on the tab strip.
,