Ok I got given some long strips of off cuts.
Mine are 6cm by 1 meter long.
Yep I know long strips.
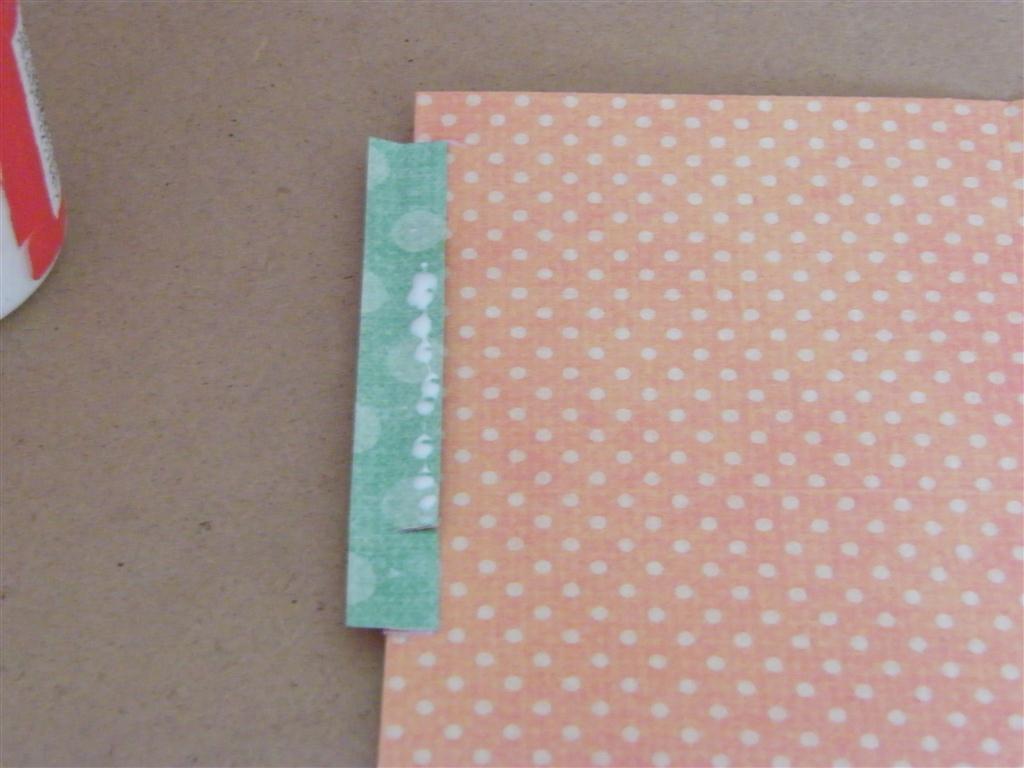
Cut 6cm by 13cm.
Score at 6.5cm.
Fold in half..
Mark 1 and 2.
Cut another piece.
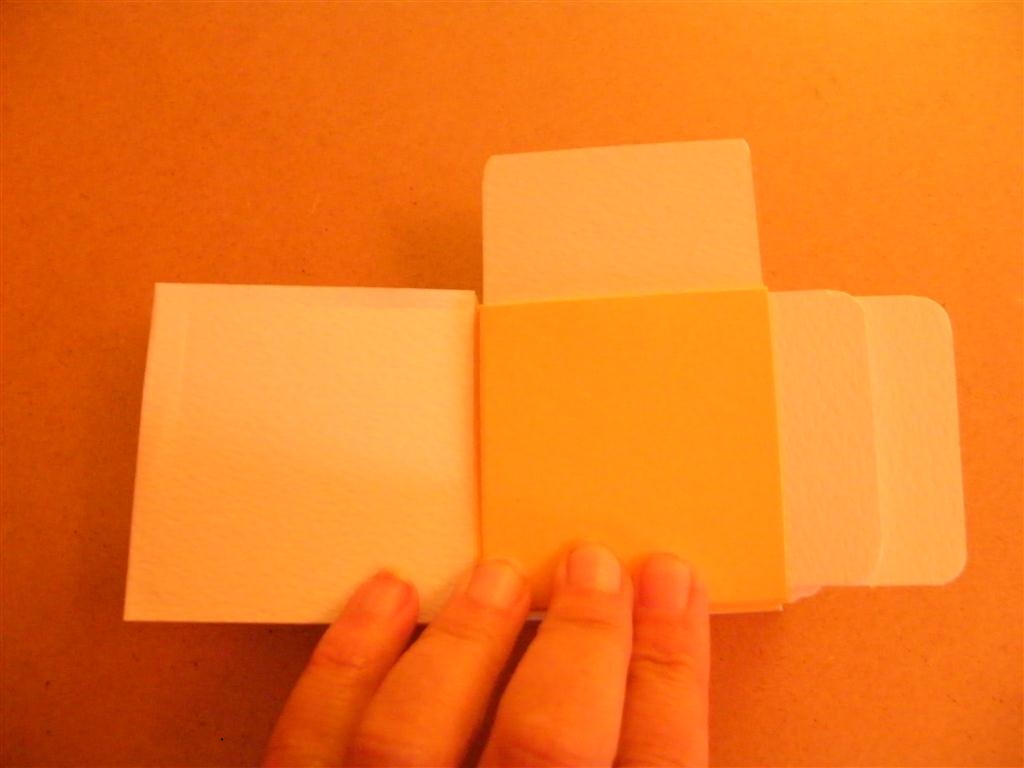
Book Jacket.
6cm by 23cm.
Score at 5cm, 11.5cm, 18cm.
If you marked the 4 sections,
A B C D.
Fold in half at the 11.5cm.
Then fold the 5cm bit inside on both sides.
A and B will touch,
C and D will touch.
See It is a bit like a book jacket.
Now slide the first piece of folded card inside,
the second but the folds should be on 3 sides.
A and B will have 1 sandwiched in the middle.
C and D will have 2 sandwiched in the middle.
If you punch your holes in the unfolded side.
This gives you a pocket at the top.
Also two pockets on the side.
Tags need to be cut at 6cm by 7cm.
Was trying to see how to hold the the bottom of the
strip closed to make pockets.
Which is how I ended up doing the top as a sample idea.
It's going to be too hard to explain this so..
I scored the whole meter strip.
Every 6.5cm, it made a concertina.
But you can just glue lots of smaller strips
together to make a strip as long as you need.
Miss the first and use the 2nd and 3rd
of the strip sections.
Take one of the book jacket.
Hold the middle fold at the base wrap it round the 2nd and 3rd
and tuck the bit marked A inside.
You may need to bend it a bit and tuck D inside too.
Don't worry as you can't see if you bend or crease section D.
You now have a pocket.
Take 4 and 5,
Repeat using another jacket.
Keep going till you have one section left.
I had two, so I cut one off.
To make a cover..
Yep it looks like another book jacket.
Measure you spine on this book of pocket and and a 1/2cm.
Mine was 2cm including the extra.
So I need 30cm by 7cm.
So I score at 7cm and 14cm,
Turn the paper round and score the same again.
This way I know it will be same on each side.
Also works if you have a smaller scoreboard.
Add glue all over what is your wrong side
if your using patterened papers.
JUST DON'T ADD GLUE TO THE INSIDE SPINE
Place the spine of your pocket book to the
unglued spine of the cover.
Line it up so there is the same distance top and bottom.
Sandwich the first page of you book within the two bits
of the cover.
Do the same with the back page.
I like covering them this way as it means
you have 3 pieces of card for strength.
I showed this so you can see one tag in the top and
one either side of the fold.
so no glue apart from the covers.
If your card is not long enough for method all I do is
make the front and back section as two pieces and just join it where the spine would be.
Bigger pages.
29cm by 14 cm.
Score at 14.5 cm.
Mark inside 1 and 2.
Jacket cover.
30cm by 14cm.
Score at 0.5 cm,15cm, 29.5cm
Mark A B C D.
Just wrap and tuck the
0.5 flap inside, you will need to add glue this time, to hold these tiny flaps inside.