
I know this looks like the same thing but...
I realised I could cut it from a sheet of 12" by 12"
and have each side of the pocket and the flap any colours I wanted.
It also means you can use normal not double sided paper.
Cut your paper at 5 1/2"
Which leaves you a 6 1/2" piece.
You can have any size pocket width you like this way.
I cut one piece at 8" so when folded my pocket will still be
5 1/2" but 4".
I then cut a 4" by 6 1/2"
From this cut a 4 " by 4" square.
The piece that is left will be the bottom pocket.
Mine is 1 1/2" by 4"
but you can use the whole bit left to create a deeper pocket seam.

Score all the pieced so they fold in half.
The bit at the top right is my fan fold.

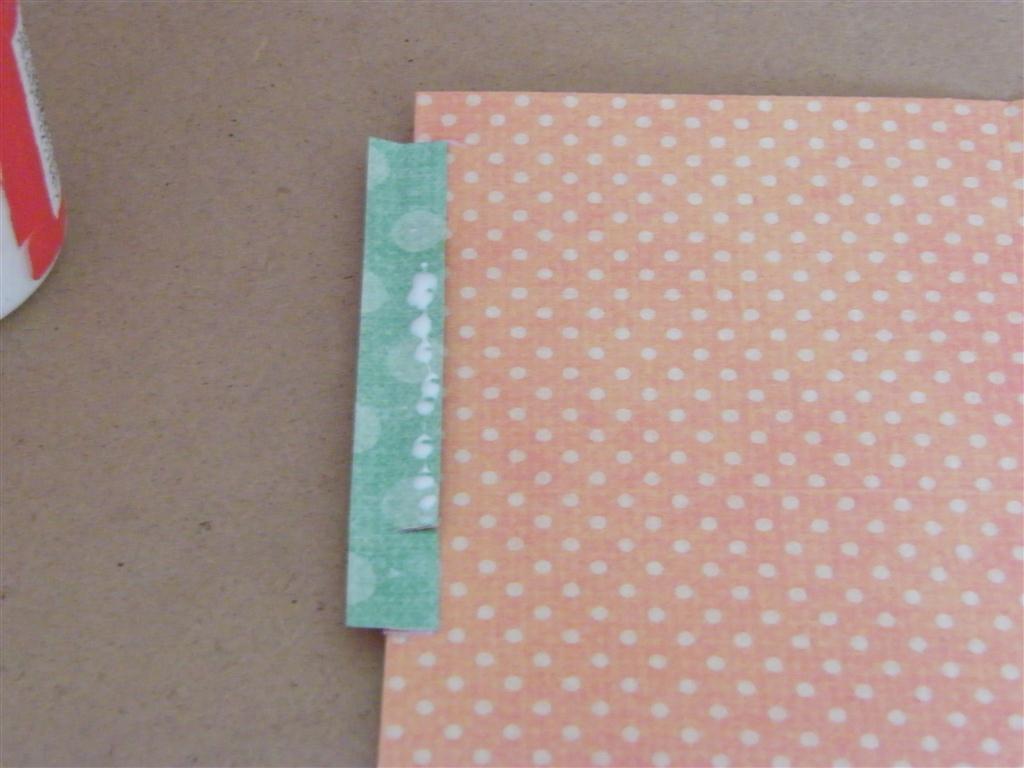
Add glue to the side edges of your pocket seam or you won't be able to tuck a tag inside.
You don't need to glue the triangle flap as it will have the holes punched through and will stay put.

See looks rather like the post before.
Only the green was no the reverse of the double sided paper.
This next bit is a bit more complicated, but means you can have the flaps moving and they wouldn't have to be triangles.

You take your fan folded but of card.
As you look at it you need to cut 1 cm from the edge on the center two fold sections of the fan.
I then butted my cardstock so it covered the 4th section of the fan and glued the top and bottom section 1cm of the 3rd section to the cardstock.
Fold the middle section of the fan down and add glue between the cuts as in the photo.

You will find the cardstock won't open.
What sticks out is the back and front of the fan.
Add glue to these so it looks like my photo.

The just add the folded triangle over the top so it covers the cardstock.
It means the whole of the triangle flap can lift up on the hinge you have made.
Once more added a seam pocket to the bottom to stop my tags falling out.

I know it looks fiddley to do but it does mean you can use all the inside of the pocket, but you can also glue it onto a scrapbook page and it would give you a pocket and the back to scrapbook on
2 comments:
ohhh thats interesting. thanks for the tutorial :)
Great idea.
C
xx
Post a Comment